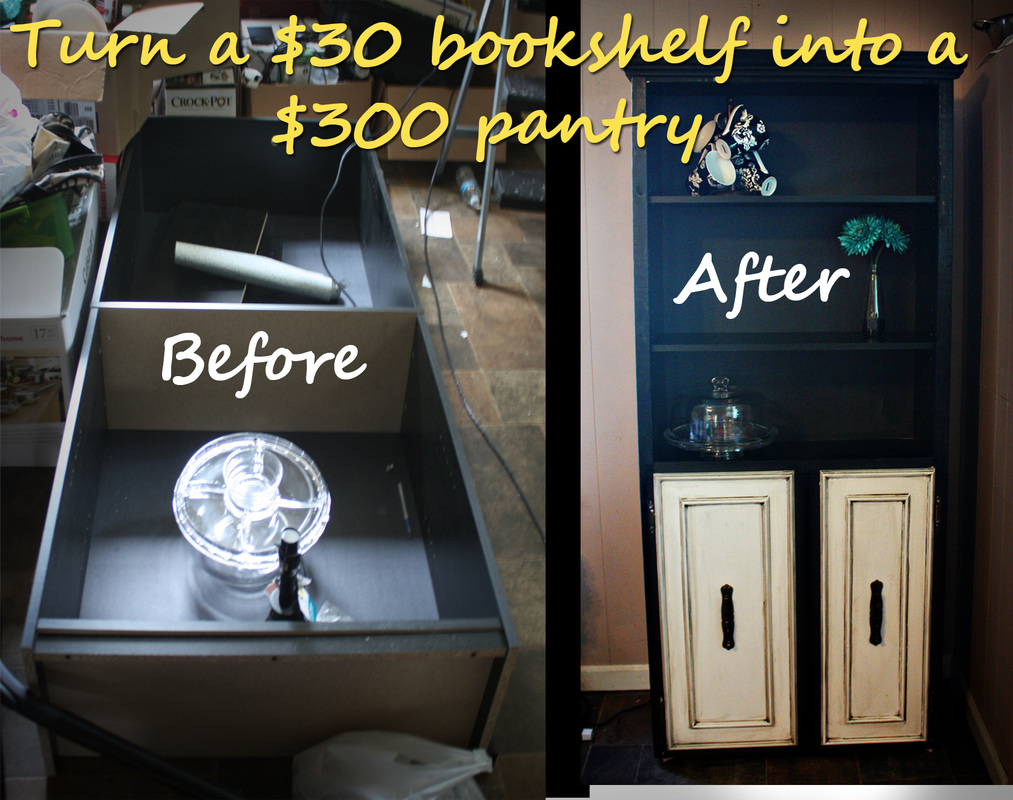
Heres a project that Will and I finished awhile ago, but amongst the hussle and bussle of moving, I never posted on it. Let me start by telling about the dilemma we were in. I've mentioned before, that since we moved into an old 1930's mill house, it has a super simple layout. So simple, the original layout looked like a 4-square court. It wasn't until the 60's that someone added a bathroom to one of the rooms (yay!!) and two super tiny closets. There is no other storage space in our house. Our kitchen is much bigger than our old kitchen, but it actually has less cabinet and storage space since there is no pantry. This posed a problem because the house is not sealed well so bugs come in all the time, and we did not have a place to put any of our food. We went back and forth about getting something really cheap that we would just keep for the time being, or actually buying something that we liked and would look nice long term. We decided to buy something that we liked that was nicer, but no matter how long I searched I could not find anything in our price range that looked halfway decent. The next step up from that cheap standard 5 shelf bookcase only had a little bit of fake wood trim and it was a whopping $200 and it didn't even look great in person.
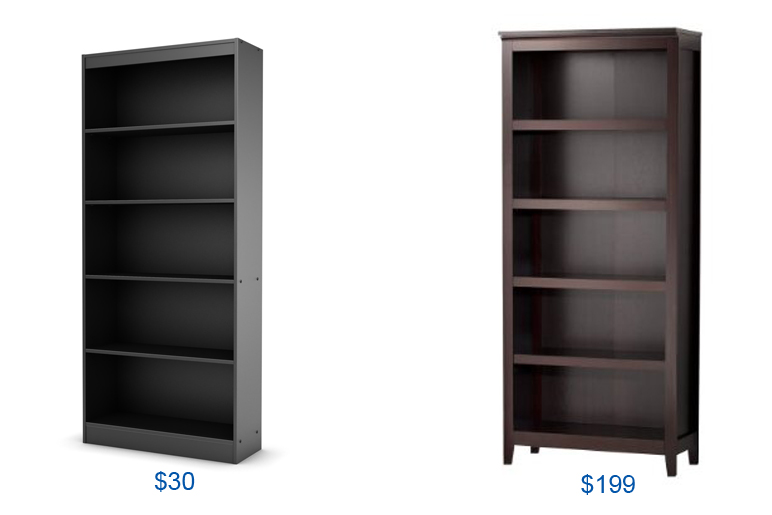
Also, anything that used real wood was in the $300-$500 range based on size, shelves and if it had doors or not. So I decided to do a combination of all of the above. I bought the $30 bookcase from walmart to start as a base. I thought about making it entirely from real wood but that base would have started at $80 which was a little steep considering that I wanted to add trim and doors. It also would have taken a lot longer and we didn't have time for that when we were in the thick of moving. Our kitchen was a disaster zone until this was finished. Here are the totals for what I spent:
$30- bookshelf
$9- bead board from a habitat resale store
$5- two cabinet doors from the habitat resale store
$4- fancy trim from the habitat resale store
$6- 7 1x2 boards from lowes
$9.50- Antiquing glaze from lowes
$2- screws
I had paint on hand but I used less than a quart of black paint on this project and not much primer or white paint
grand total- $63.50
Here's how:
Step one: Follow the included instructions on how to put together your bookshelf. I didn't include instructions or pictures on this one because they are probably each made differently.
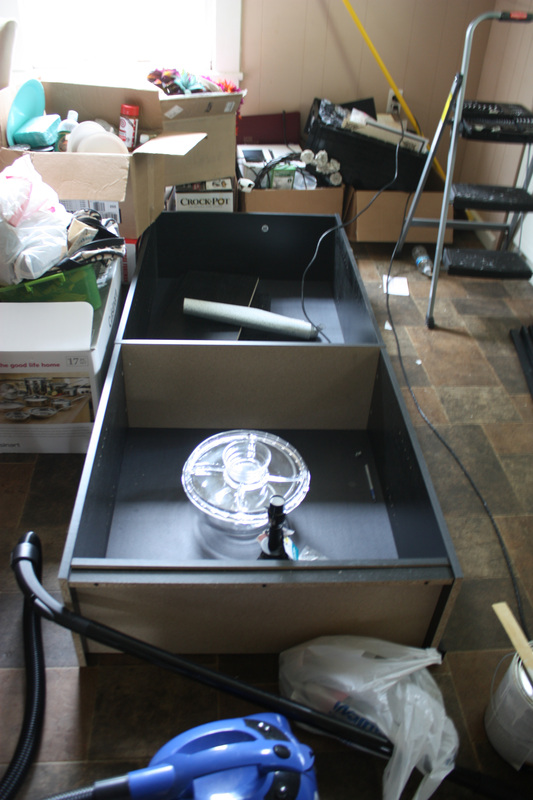
(I told you we were hurting for space and had to get this thing done quickly)
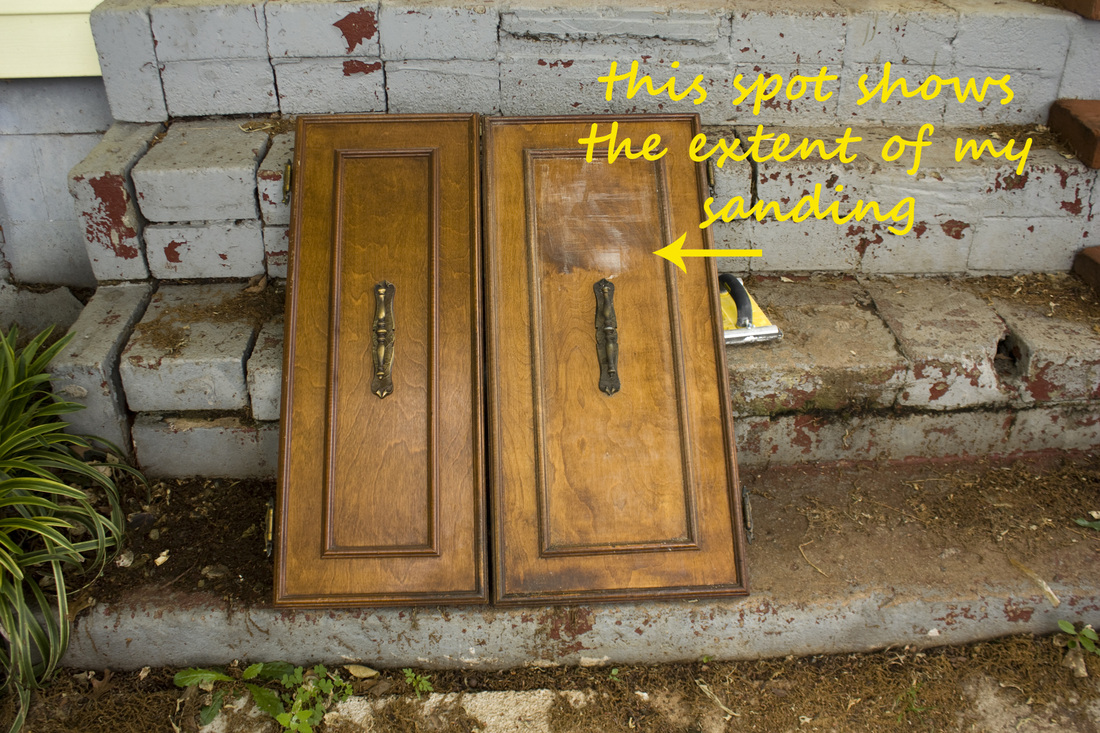
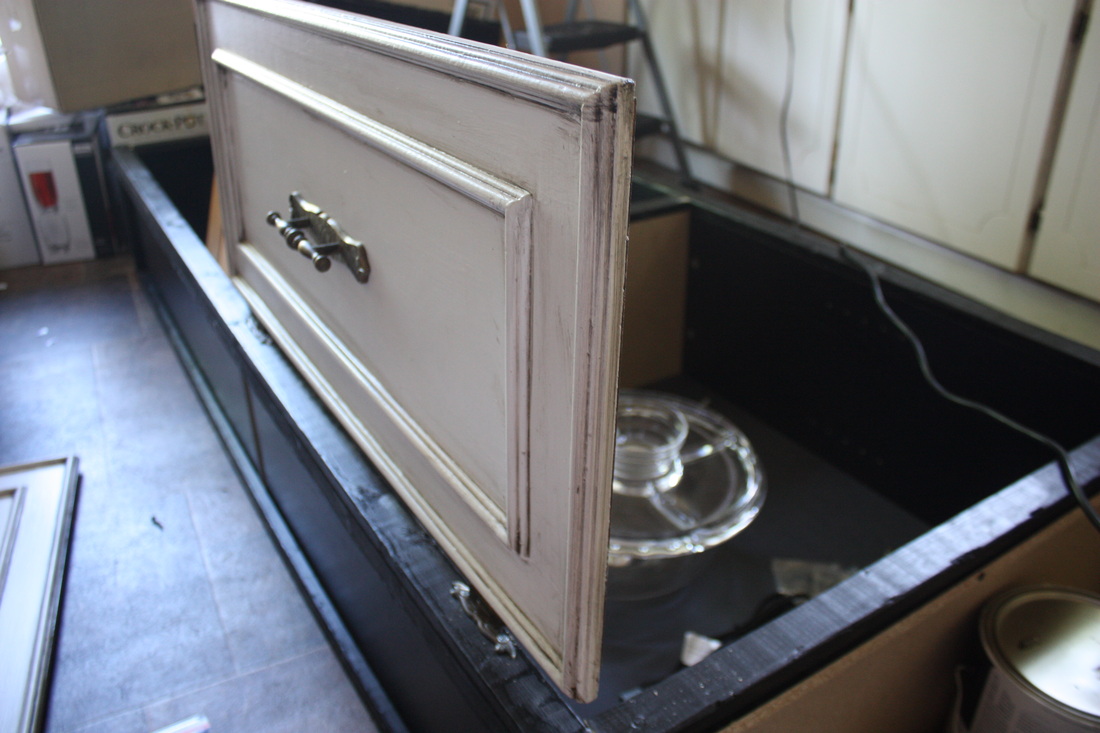
Step two: If you have never heard of the habitat resale store, it is awesome because it is the goodwill of building supplies. I measured all of the cabinet doors they had and found these two which fit perfectly. I realize that the doors aren't the same width but I actually like the quirkiness of the two sizes. Once you have doors that fit, sand, prime and paint your cupboard doors (or if you are like me and a little lazy, sand just enough so that the primer sticks)...note--make sure you take off the handles before you paint
Step two: If you have never heard of the habitat resale store, it is awesome because it is the goodwill of building supplies. I measured all of the cabinet doors they had and found these two which fit perfectly. I realize that the doors aren't the same width but I actually like the quirkiness of the two sizes. Once you have doors that fit, sand, prime and paint your cupboard doors (or if you are like me and a little lazy, sand just enough so that the primer sticks)...note--make sure you take off the handles before you paint
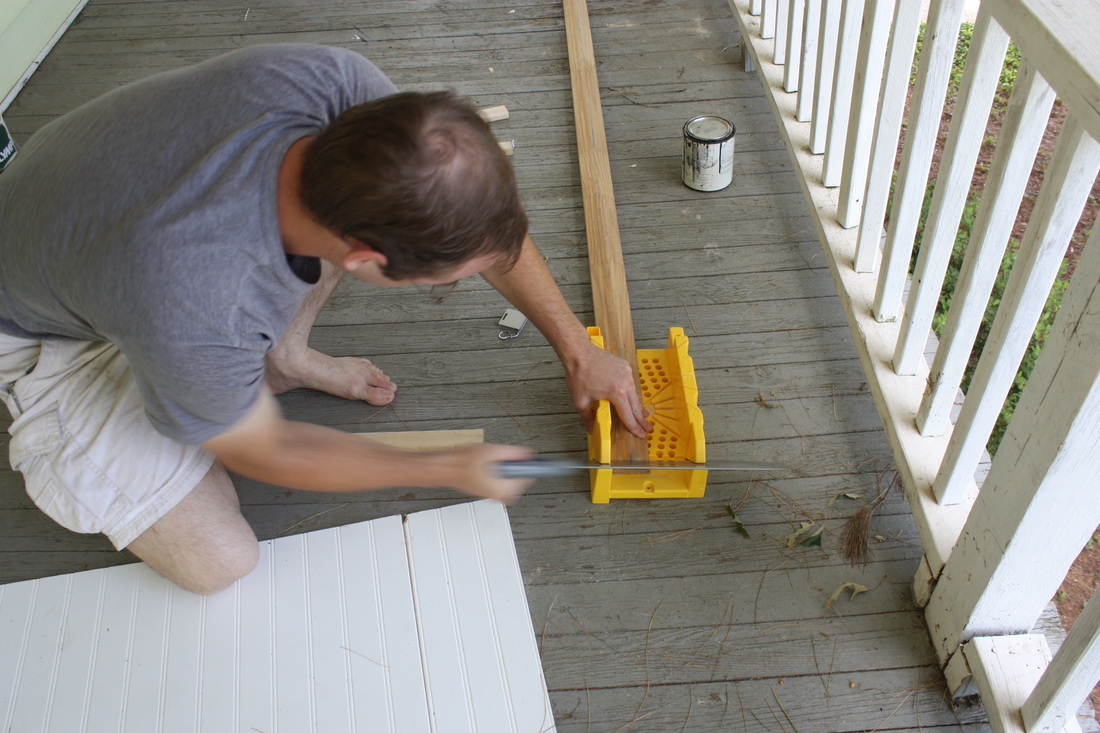
Step three: cut the 1x2s to the height of the bookshelf. If you have a miter saw, use it, they are awesome. If you had to borrow tools from a friend like I did, get a couple of saws as well as a miter box.
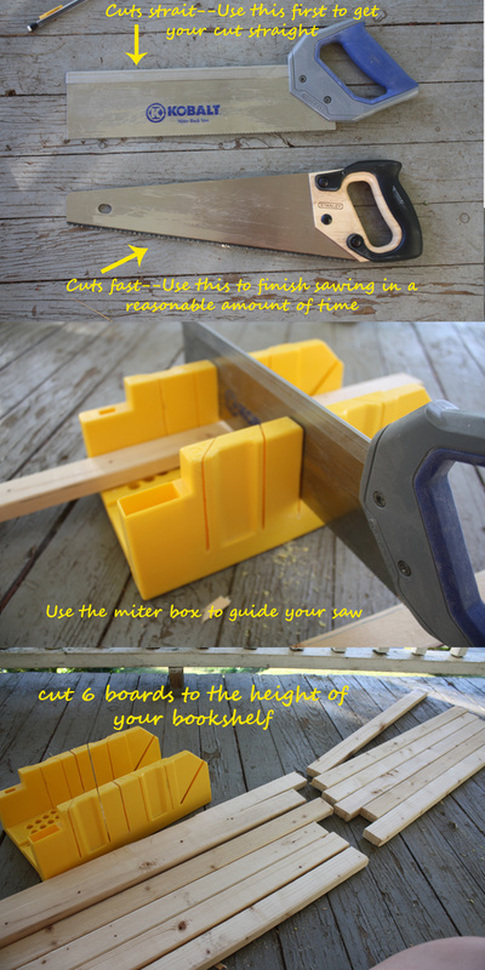
You should now have this:

Step four: Paint the boards to match the color of the bookcase and let dry
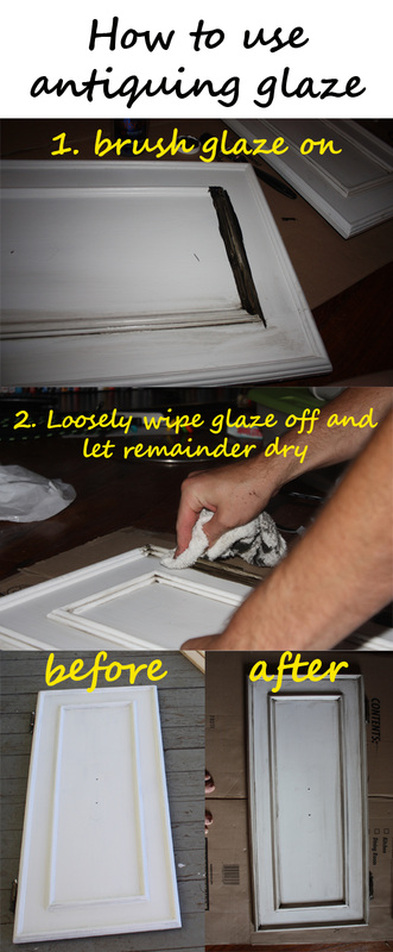
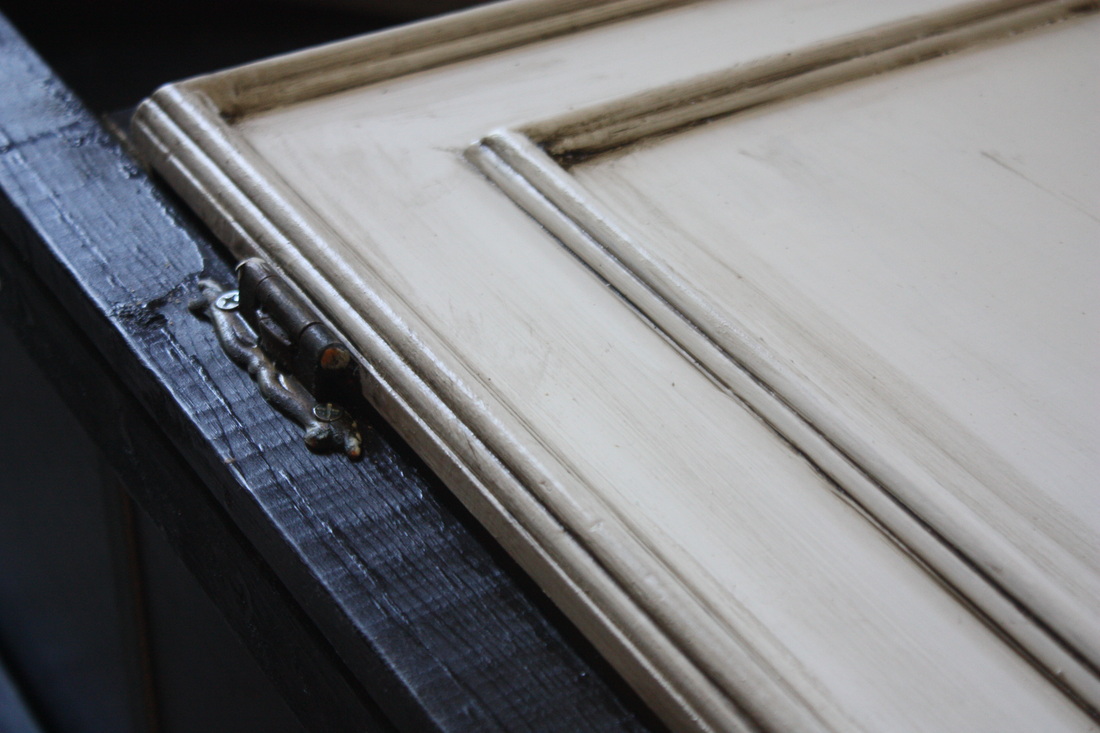
Step five: apply antiquing glaze to doors and let dry
Step five: apply antiquing glaze to doors and let dry
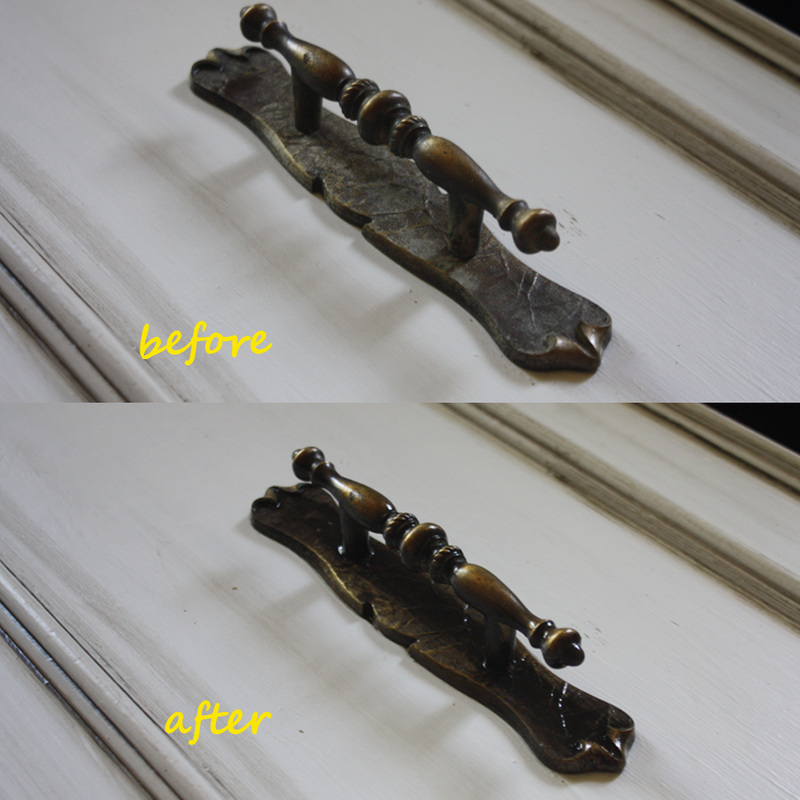
I also used the same antiquing technique to spruce up the handles...Note- it took a lot longer to dry on the handle than it did on the door because it cant soak in
Step 6: Now that your boards are dry, screw two boards on each side flush with the front and the back edges. (4 boards total)
Step 7: Screw your remainder two boards on the front to cover the trim edge and the bookshelf edge
Step 7: Screw your remainder two boards on the front to cover the trim edge and the bookshelf edge
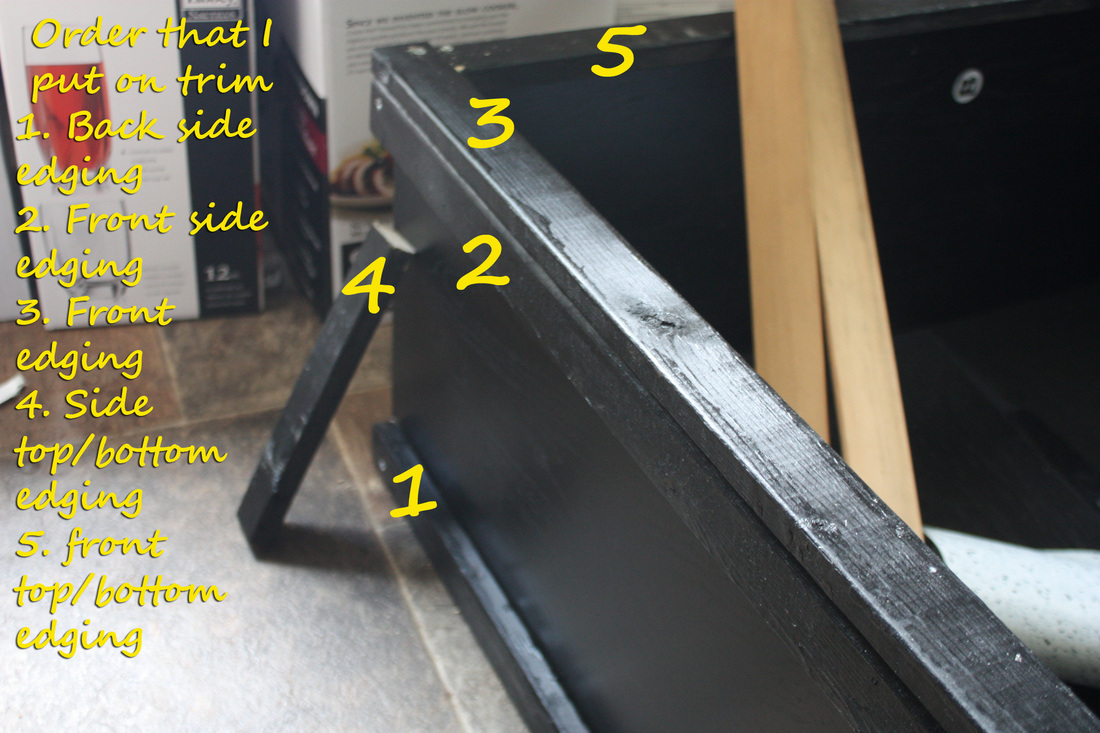
step 8: measure, cut, paint and screw in the top and bottom edging for the front and the side (see above for clarification
Step 9: Once you have all of your edging on, your cabinet doors should be dry and ready to screw on. (If you get the doors from the habitat store, the hinges will already be on them so you dont have to worry about aligning the hinges on the door.) screw in the hinges to appropriate places on the front trim
Step 9: Once you have all of your edging on, your cabinet doors should be dry and ready to screw on. (If you get the doors from the habitat store, the hinges will already be on them so you dont have to worry about aligning the hinges on the door.) screw in the hinges to appropriate places on the front trim
you should now have working doors...yay!
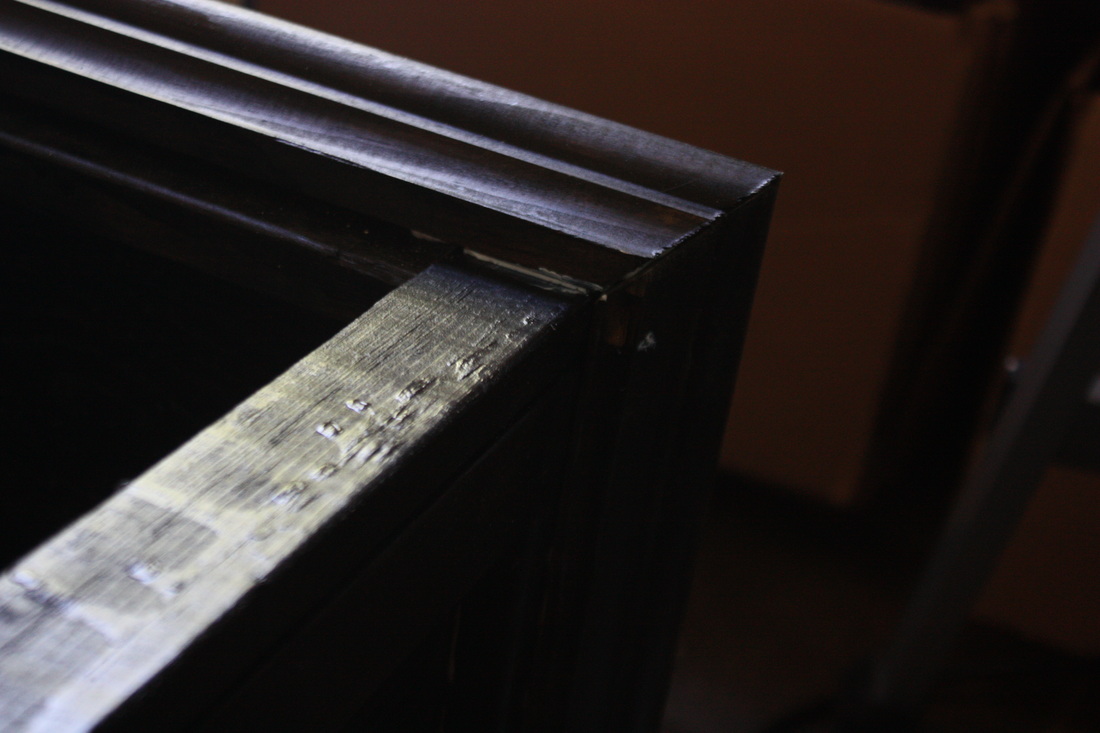
step 10: Measure the bottom of the trim to fit the sides and front of your bookshelf and then use the 45 Degree slot in your miterbox to cut to that measurement (on the the back... the top of your trim will be longer than this measurement)
step 11: make sure your measurements will fit together nicely on the bookshelf, then paint and let dry
step 12: woodglue the trim to the top of the bookshelf and let dry
step 12: woodglue the trim to the top of the bookshelf and let dry
Step 13: pop that bookshelf up and smile because you are done
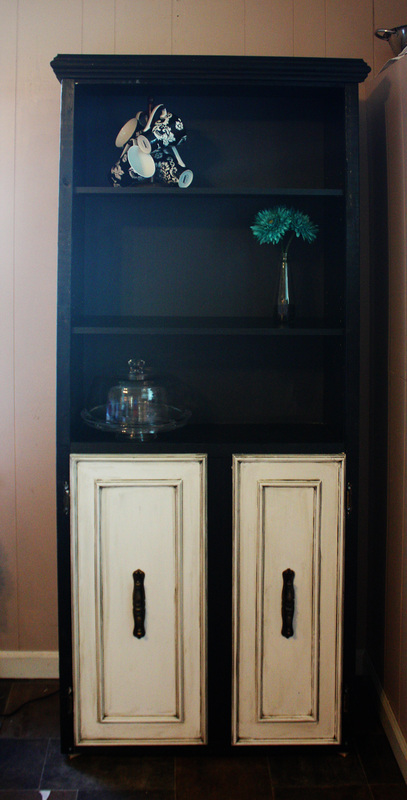
what it actually looks like as our pantry
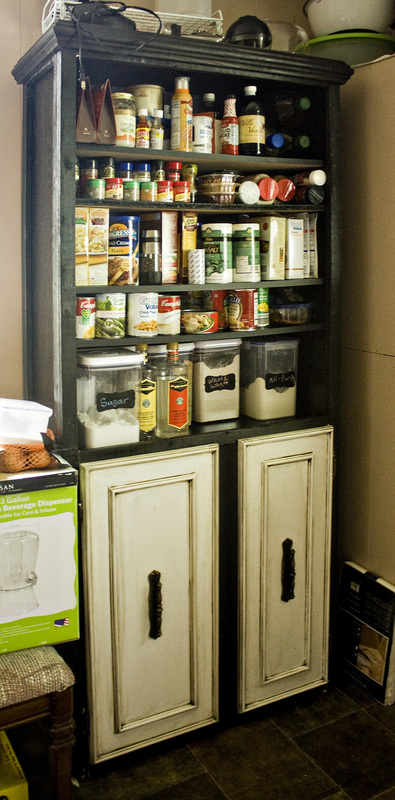
For this, when we were at lowes we had them cut a couple of extra shelves for us. We then used the existing pegs on the inside of the bookcase to hold all of the shelves so we were able to give each category its customized height.
Our Categories
Misc Baking supplies- shelf is in the top peg
spices- shelf is 4 pegs below the top shelf
boxed items (cake mix, instant dinner mixes, bread crumbs, etc)- top peg in the next section of peg holes
canned items- 5 pegs down from previous shelf
flour and sugar- sitting on fixed shelf
legumes and rice- inside top shelf (not shown)
whole grain wheat, oats, and rice in mass quantity on bottom shelf. (not shown)
and as you can see it all fits perfectly!
You might be wondering that I listed bead board but never used it. (if you don't know what bead board is, it is pictured in the bottom left of Will sawing the top trim) With this we are going to make a door for the top part of the pantry but haven't had time for to do it yet so keep your eyes peeled for more

 RSS Feed
