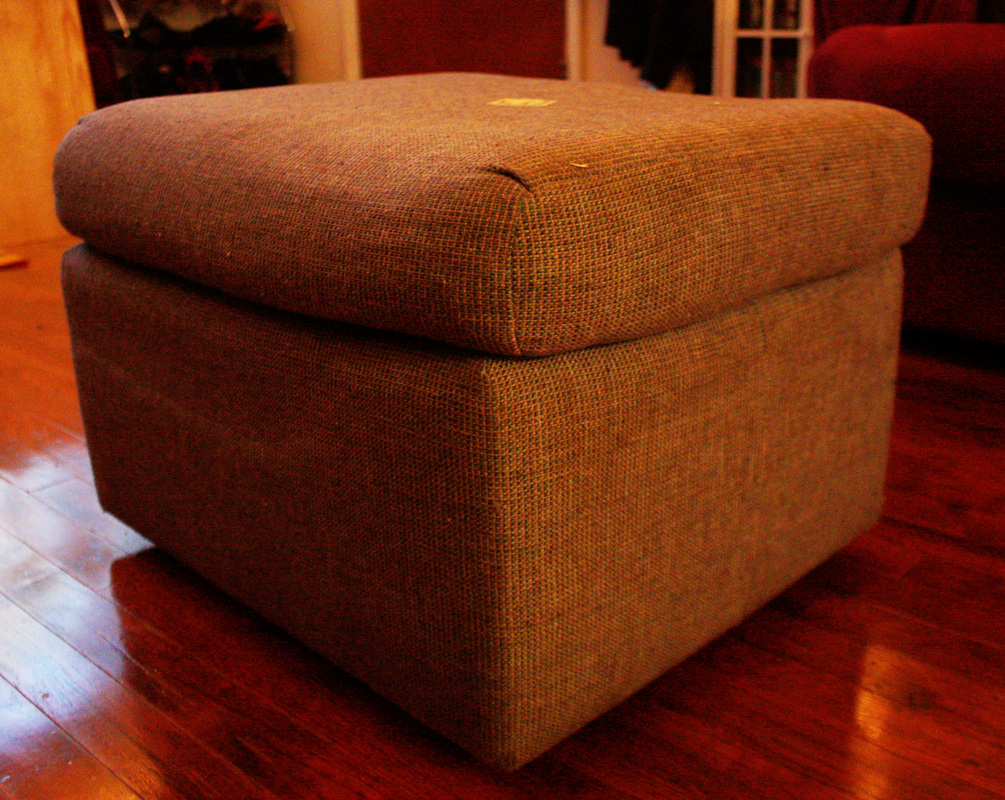
Thanks to my friend Becky, I have been informed that I never posted the rest of my tutorial on our ottoman that we converted into a storage ottoman and reupholstered. I remember writing it, but I guess when I hit publish, the website refreshed, the data was lost and I didn't realize it. So here it is, half a year later, part 2 of the recovered ottoman. To see part one, go here.
The reason why I had to do this in two parts is because we didn't have everything we needed when we jumped into the project that first day. To make it into a storage ottoman we needed two boards: one for the bottom to hold stuff in the ottoman, and one for the bottom of the top cushion to turn it into a lid. In a nutshell, on day one we took the ottomans elements apart, the next day I went shopping for the two boards. The nice man at Home Depot cut them to size for me. Unfortunately this only works if you write down your measurements correctly...which I did not. So on another day we had to ask a friend of ours if we could use tools to cut them down again (thankfully they were too big, not too small). Finally, we got the boards to the correct size and that is where this post picks up.
The reason why I had to do this in two parts is because we didn't have everything we needed when we jumped into the project that first day. To make it into a storage ottoman we needed two boards: one for the bottom to hold stuff in the ottoman, and one for the bottom of the top cushion to turn it into a lid. In a nutshell, on day one we took the ottomans elements apart, the next day I went shopping for the two boards. The nice man at Home Depot cut them to size for me. Unfortunately this only works if you write down your measurements correctly...which I did not. So on another day we had to ask a friend of ours if we could use tools to cut them down again (thankfully they were too big, not too small). Finally, we got the boards to the correct size and that is where this post picks up.
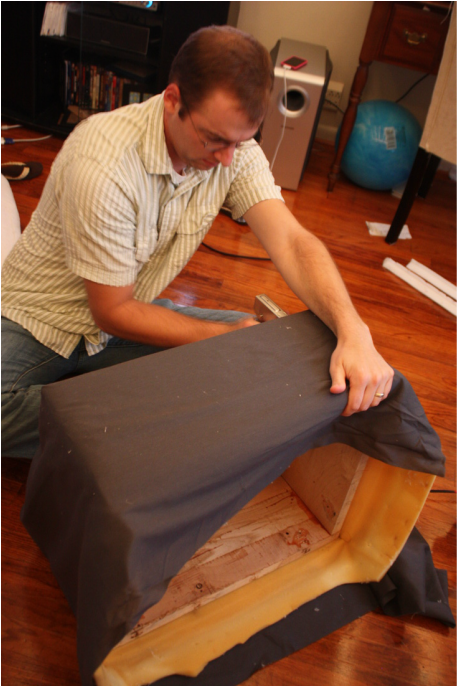
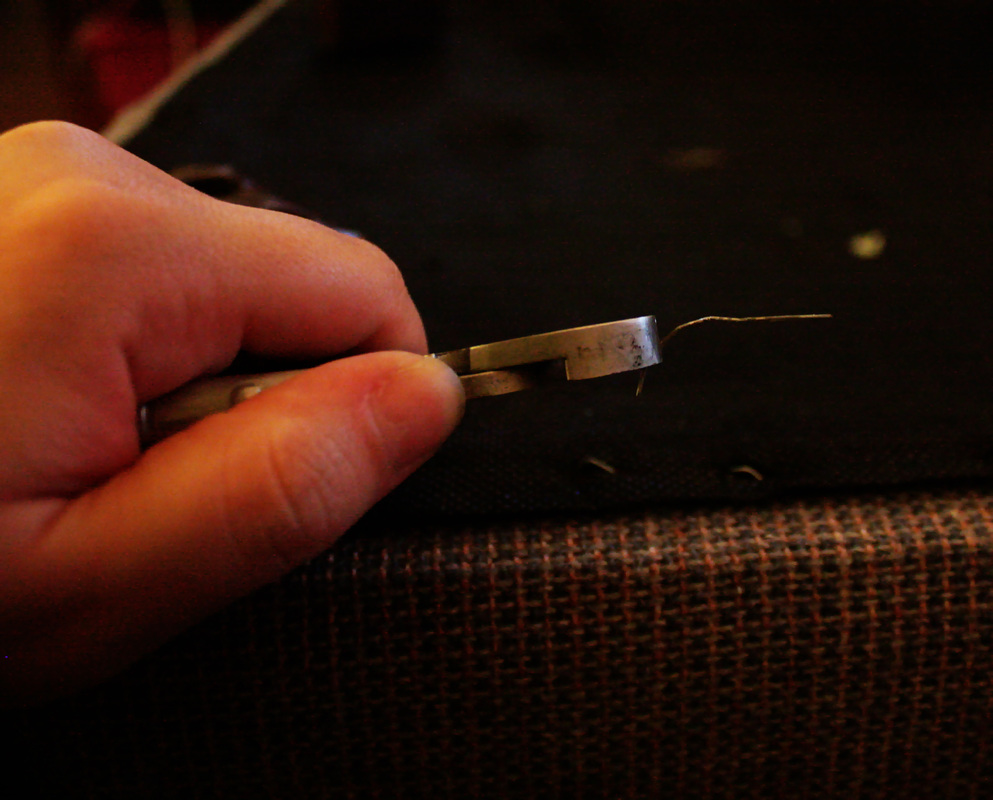
We cut a piece of fabric that was long enough to wrap all the way around the ottoman, ironed it, then wrapped it around. Make sure that you have a couple of extra inches in length so you can fold the raw edges under. Fold the raw edge under and staple the corners of the edge to the bottom and the top inside. Stretch the fabric tight as you work your way around stapling the fabric to the bottom of the wood and to the top inside edge of the ottoman. When you get all the way around, tuck the unfinished edge under and staple in place.
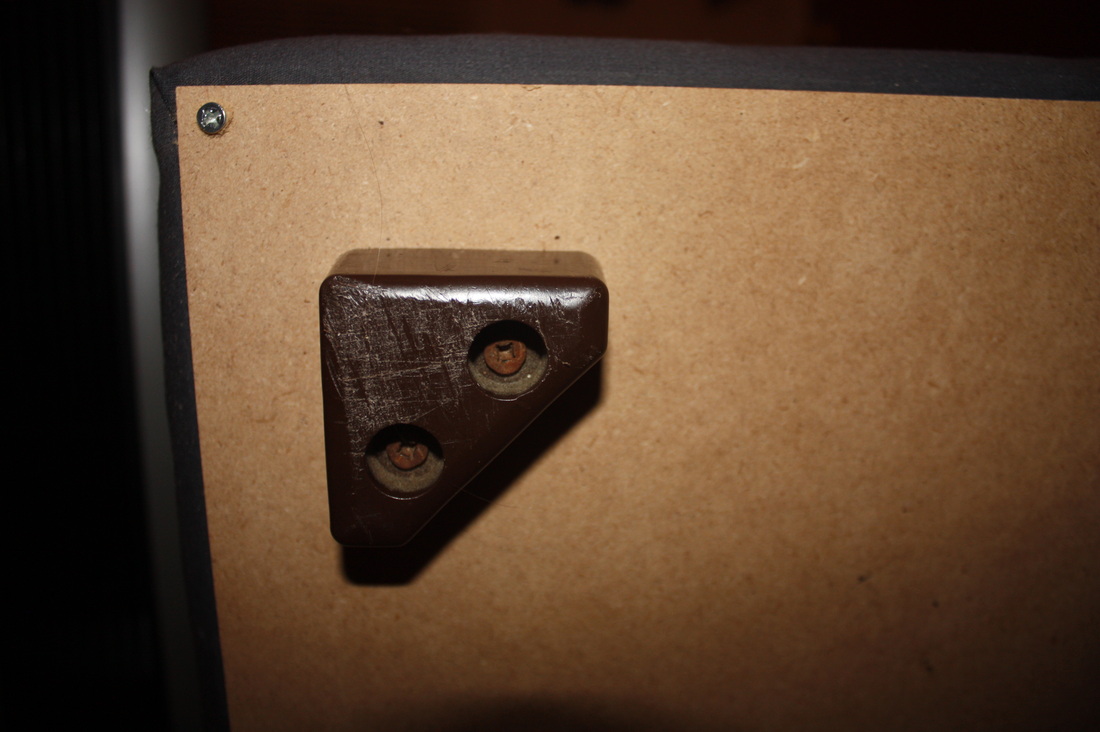
Once you are done with that, screw one of your boards to the bottom to cover up all of your staples. Since ours does not sit flush with the circumference with what's above it, we chose not to paint it since you don't normally see it. Measure (or if you are good at eyeballing like I am, guestimate) to where the feet of the ottoman were screwed in originally and screw them back in. The bottom half is now done.
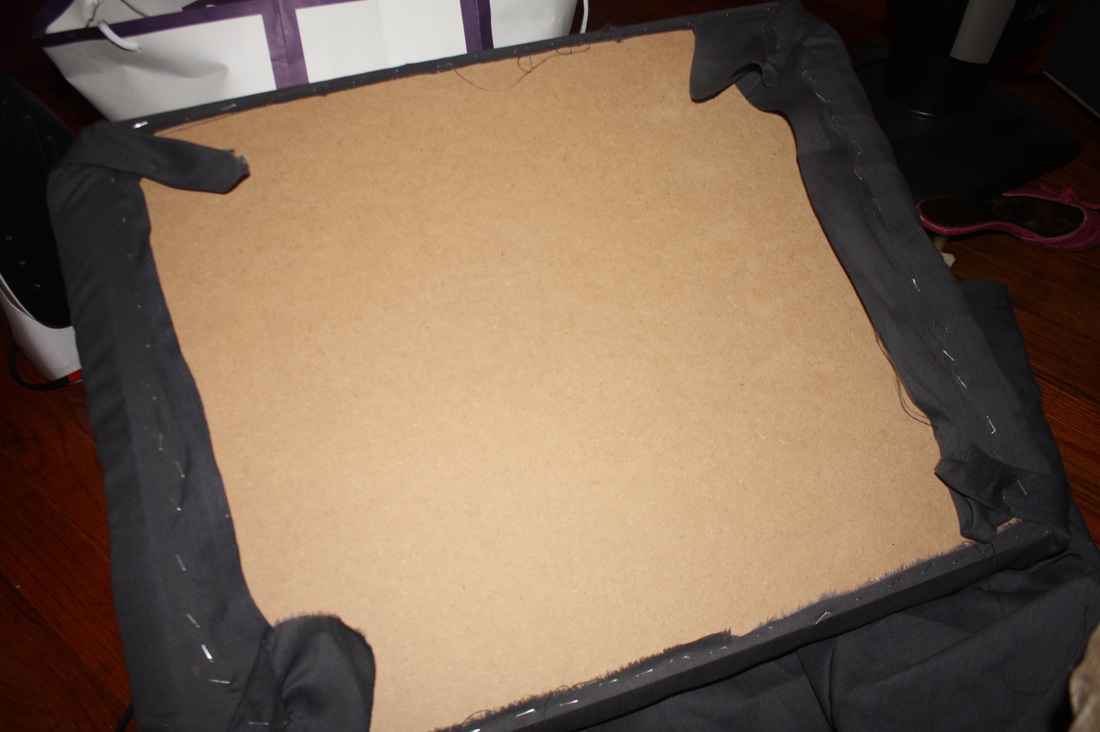
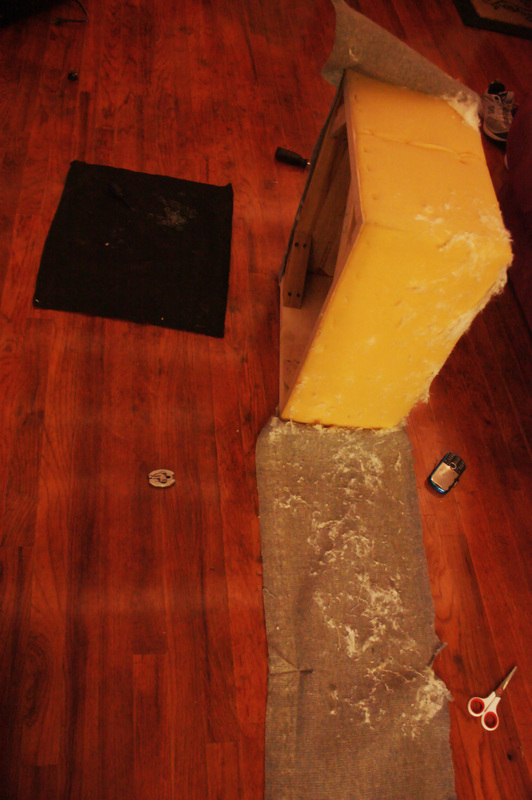
I kind of made the lid up in my head so I don't know that this is a great method for making a lid or not, but so far it is working for us. We put the other board on to of the cushion, stretched fabric around the cushion and stapled the fabric into the board. If you do this, just make sure your staples are not longer than your board is thick or you might sit on a staple one day. I don't have a picture for the next step, but we trimmed off the extra fabric, measured a square of fabric the same size as the board, tucked the raw edges of that square under and glued the square onto the board so you cover up the board and the staples.
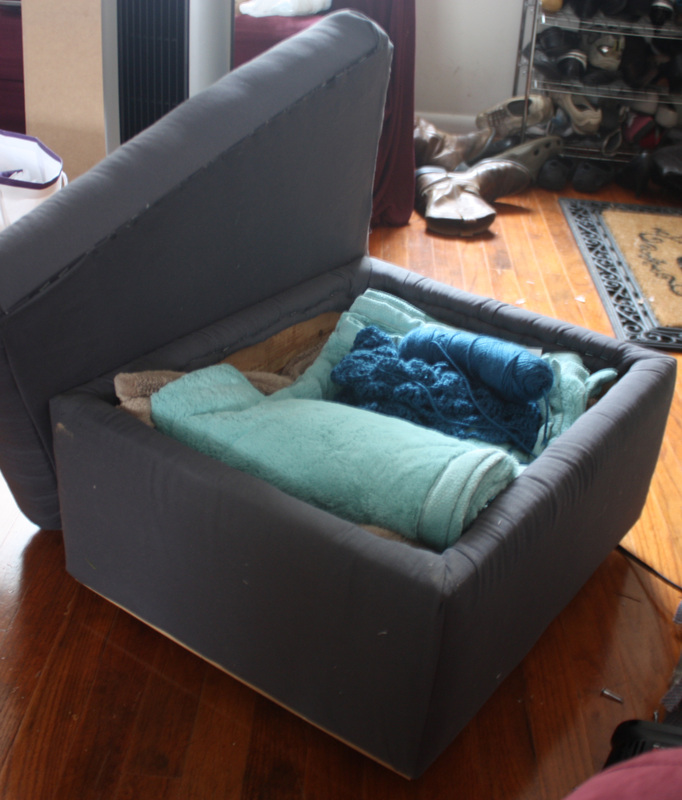
And that's it! I love having a place to put our throw blankets in the living room now. Its surprisingly spacious so I can fit a few blankets and my current crochet project inside.
Thanks Becky for letting me know that I never got the post up!

 RSS Feed
